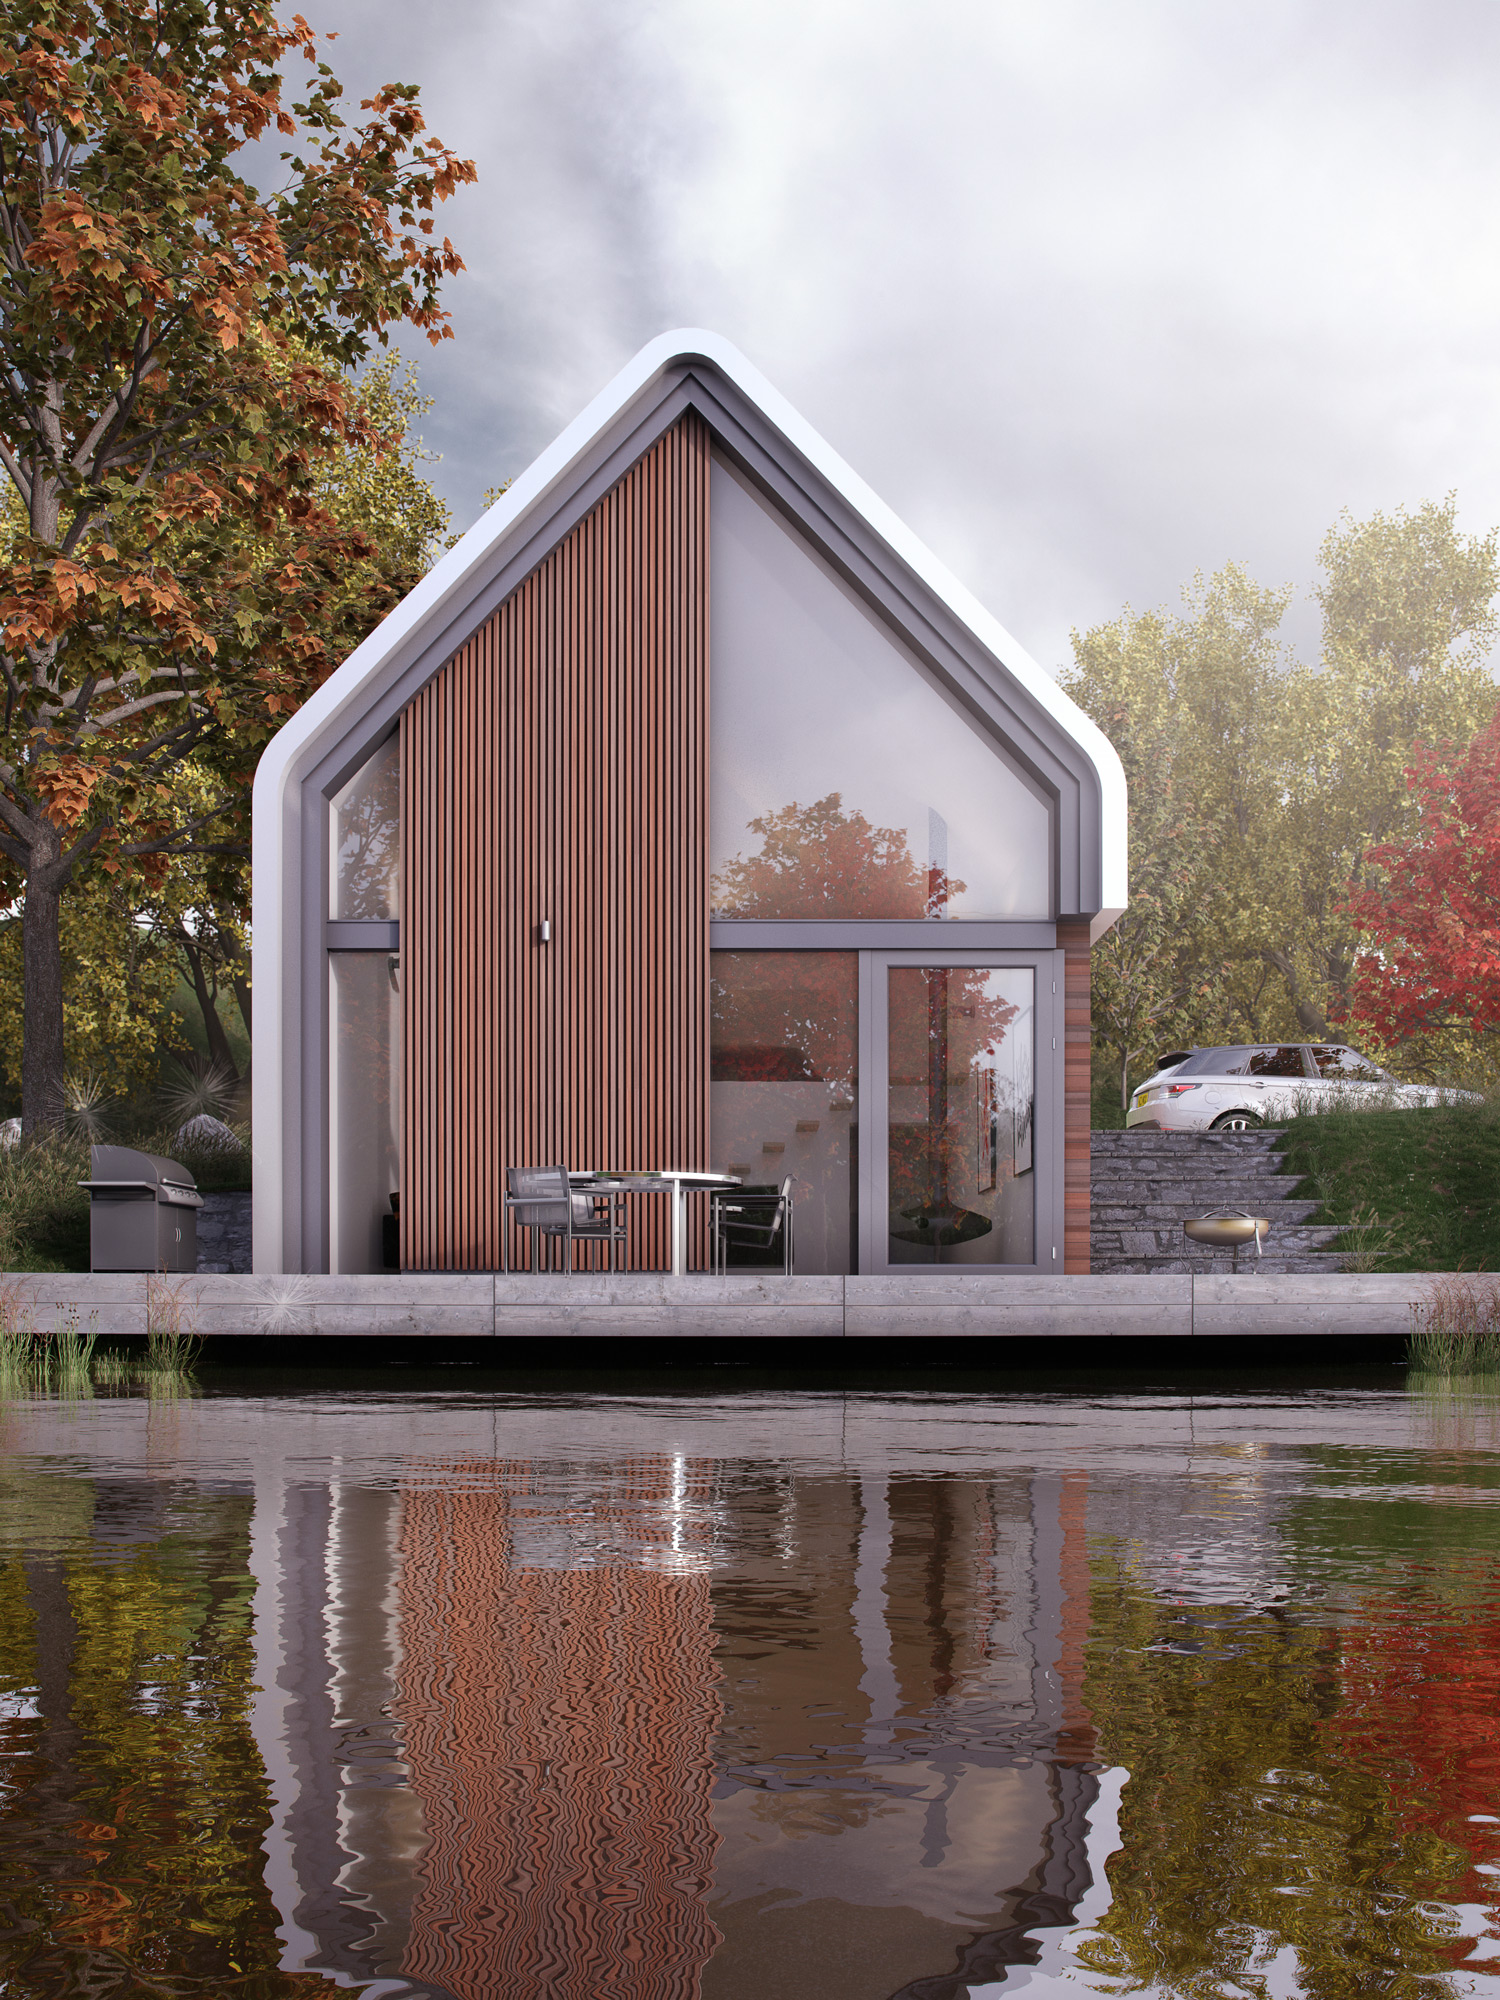
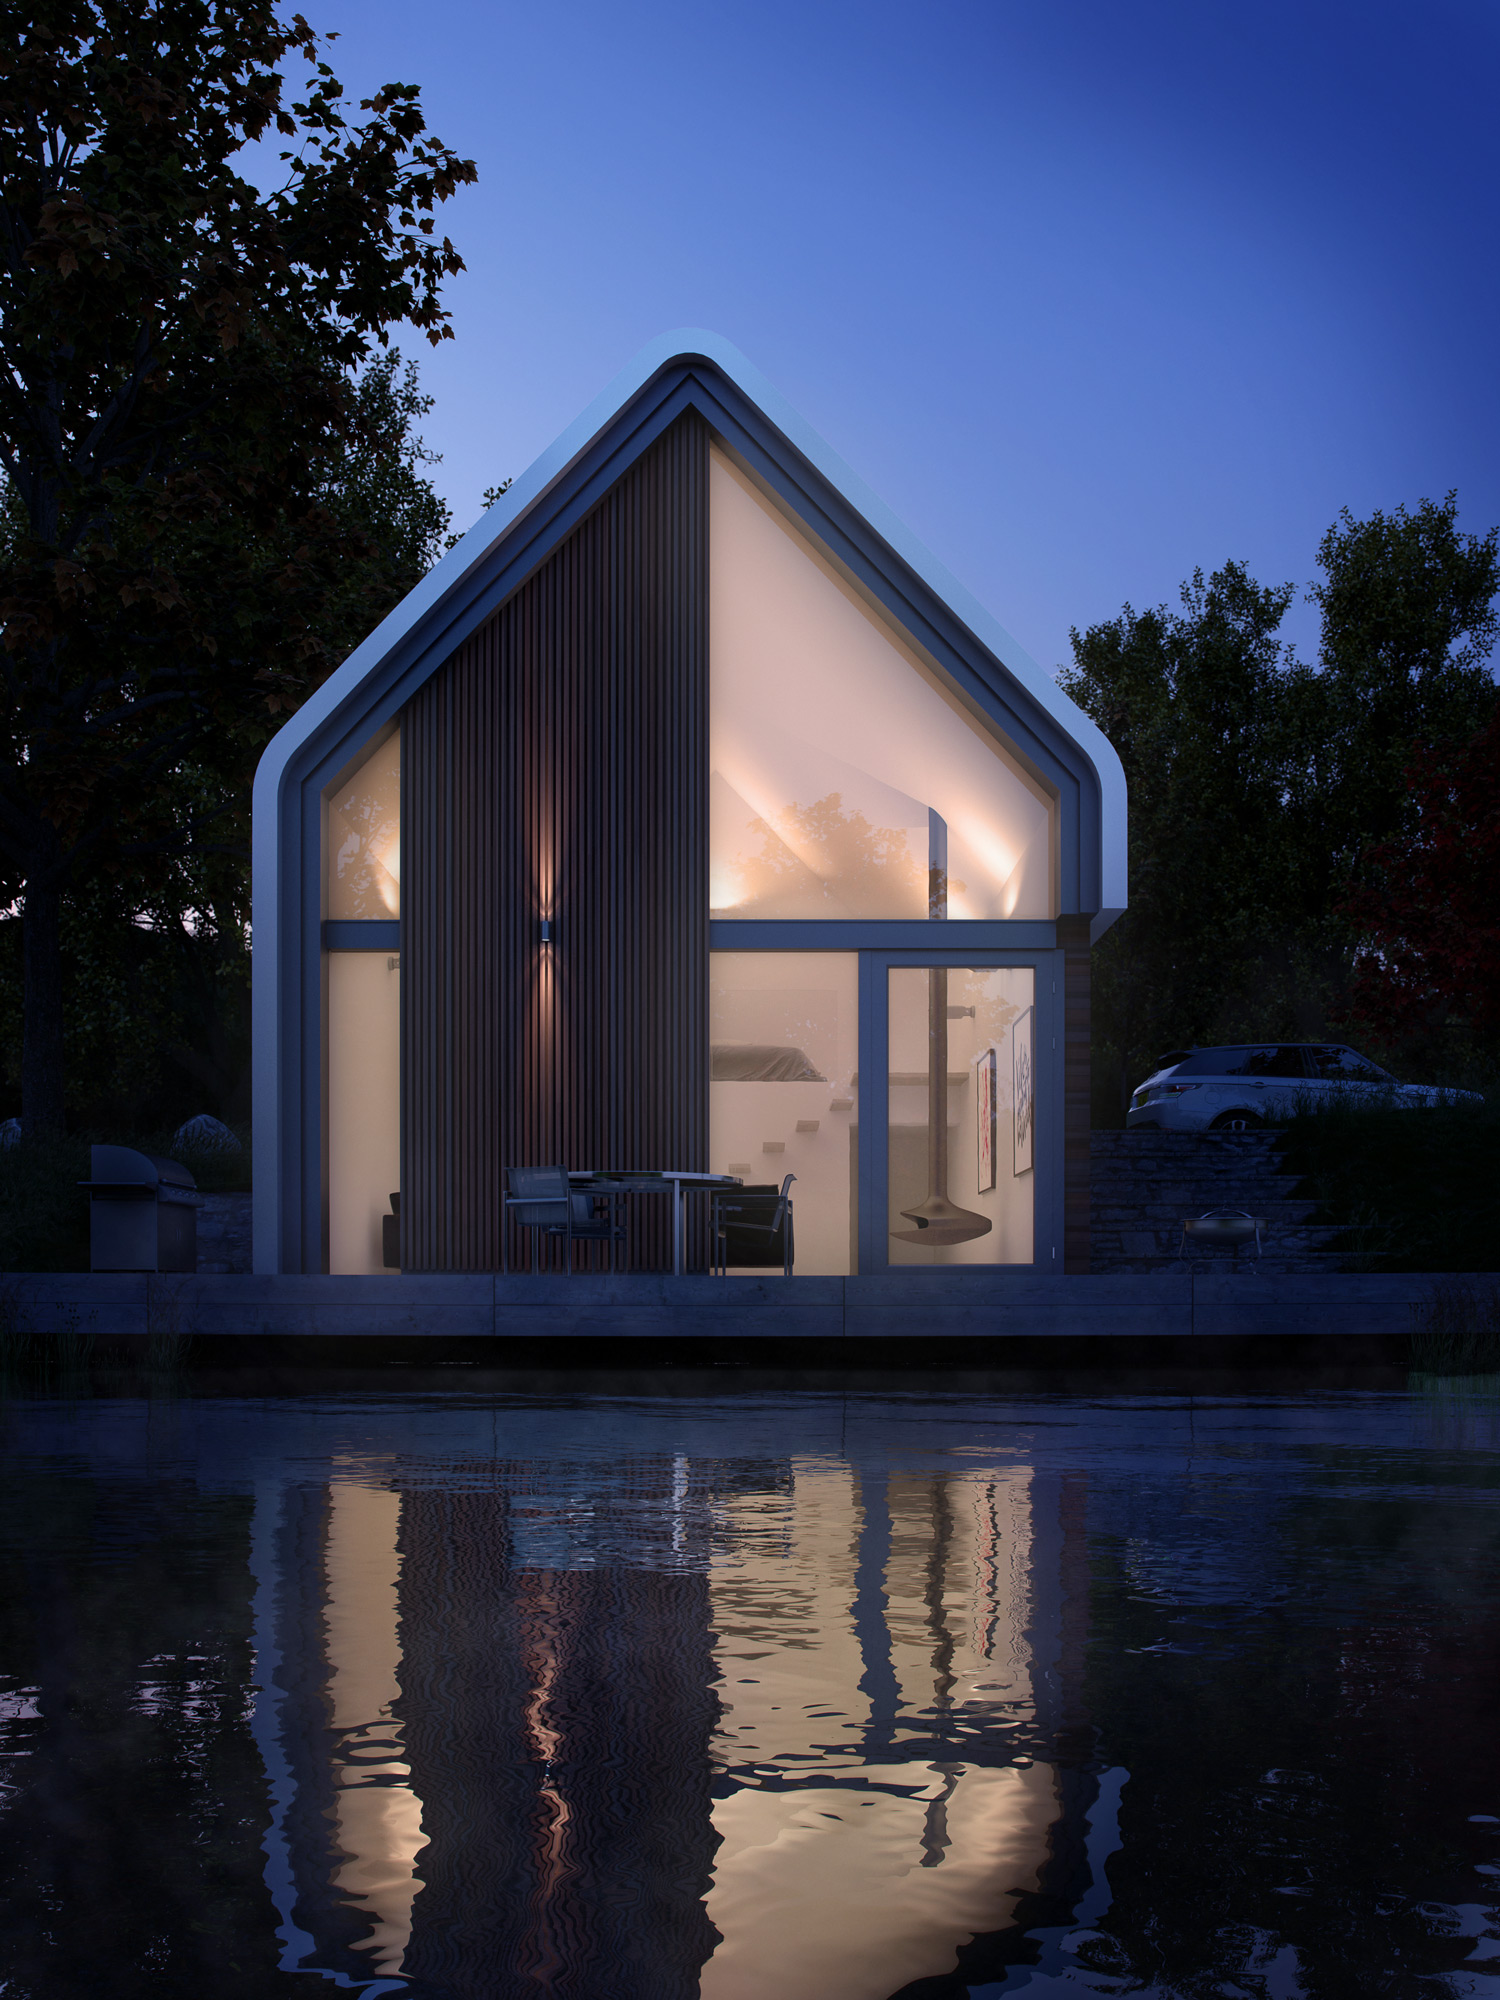
The Lake House
This is a project that we have been meaning to do for a little while now. It is a project that a client came to us a little while back but unfortunately having done a lot of the preparatory work the circumstances changed and the client no longer required us to produce the images.
Before the office closes for the holidays this weekend, we had a but of fun ‘finishing off’ the images as we wanted as a night and autumnal scene.
We are now looking forward to the break and giving out computers a well earned rest. We are also looking forward to getting back to producing images in the new year. If you have any projects in mind between now and then drop us an email, the render nodes maybe shutdown but emails are always working 🙂
Happy Christmas.
Update:
We submitted these two images to ‘The Area‘, Autodesks user forum and gallery. They liked it so much that the published it within there monthly newsletter and asked us to write a piece about it:
Producing the Lake House took over 6 months…. Well actually it only took 2 days work but it was in production for over 6 months. A client came to us wanting an image of their proposed building sat within in a clearing of a wood. They were very non-specific in terms of the context just the designs of their building. We did some research had a look around for photos and other references images of the dwellings within woods and felt that many of the most successful images were those which also used water to reflect the buildings, it’s also a great way of ‘getting something for nothing’ and means that the amount of detail needed for the foreground is minimal – always useful when working to a tight budget. Anyway we presented these ‘ideas’ to the client and they were happy but they insisted on the traditional blue skies and high sun, something that we argued against but eventually conceded, they were paying the bill at the end of the day. For one reason or another that was they end of the line, the project was put on hold, we were paid for the work that we had done and we went our separate ways.
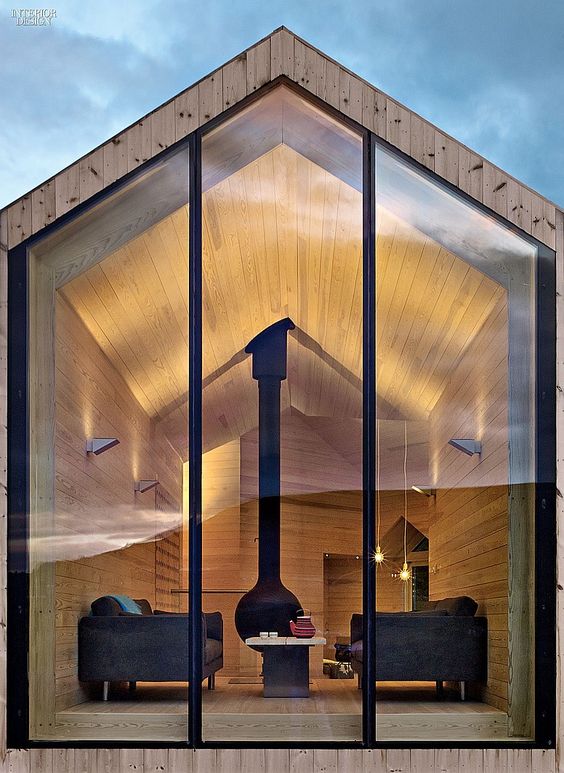
Roll forward six months and we were in the last week before Christmas, traditionally a time where we are either breaking our necks trying to get work out for deadlines before the holiday period or kicking about the place eating to many mince pies, twiddling our thumbs and recounting the goings on at the Christmas party. This year was a quiet one, the projects that we had been working on were completed the week previous week and we had a bit of time on our hands. Doing the house keeping I came across this un-started/finished project so decided to have a bit of fun in the office. Two days to produce an image from scratch; model, texture, light, render and post using only assets that we already had. The research had been done based upon the original designs, but this was an opportunity to ‘personalise’ it with no client restrictions. Like many visualizers I use Pinterest collect hundreds of images of buildings, lighting conditions, compositions etc. I didn’t want to use the clients designs, they were OK but were limited by the practicalities of actually living there. With only two days I wanted something striking but simple in it’s form so that it could be modelled quickly. I had recently added the two attached images to a collection and thought they would work well.

 The production workflow was then relatively simple and utilised many of the principles that we use day to day and that are well documented across the internet – I shan’t go into them but at the end of this post there are the relevant credits to plugins and asset providers. Given the time constraints I didn’t want to model anything more that I had to. Over the years we have collected thousands of models and these days you can find high quality models of just about anything from any number of sources, of course with that huge library comes another issue, how to organise them? We use ‘Connector’ from Design Connected – well worth a look if you have even a small library of assets. Which allowed me to model and populate the scene in a little over 6 hours. That gave me time to set-up a couple of lighting rigs, dusk and a day. The intention had always been to produce a muted autumnal scene which I thought would work well with the material palette of the building but I quite often throw in a dusk image to see if there is any potential. It’s another image with very little input at the initial stages. I spent a couple of hours messing with the lighting trying to avoid strong direct lighting on the building façade. The initial renders were sent over night.
The next day I got the initial renders back and there was still potential with both so I continued to develop them, I always find it useful to render overnight at the final production resolution irrelevant of the status of the project, it gives so much more feedback than viewport or low res renders and highlights areas that need working up. It also gives you a platform to begin the post-process using a proxy image to test colouring, build masks and add anything that might not require modelling. For instance the fog in both images, I could have used environmental fog within the render but decided against because of the time restraints I had put on myself, I was able to make sure I could achieve a reasonable result in PS before rendering out the final image. All of the renders we produce as a studio we output at 32b and render out multiple elements, we don’t use a true linear workflow as most of the time we end up just using the beauty pass as a base and then using the elements to enhance features such as reflections and specular. The area where we find using 32b most beneficial is the flexibility of the exposure control, it is not a magic bullet but it does save a lot of time fine tuning exposure values directly within Max.
And that is about it, the two images took 2 day to produce and were all finished just in time to get to the next Christmas party 🙂
Software and Assets:
3dsMax 2017, Vray 3.5(beta), Photoshop, Connector, ItooSoft Railclone and Forestpack Pro, Vizpark (Wall & Tiles, Material Manager, HDRI skies, Grasses) CG Textures, Evermmotion, CGAxis, GrowFX, Tubo Squid (car)


